
Utilizing Presets
January 18, 2024
Utilizing Presets
One of PrettyShot's best features is it's once click custom presets. Presets provide a great starting point for your screenshot editing workflow. In this short guide, we'll show you how to integrate custom presets into your screenshot editing workflow
Creating a preset
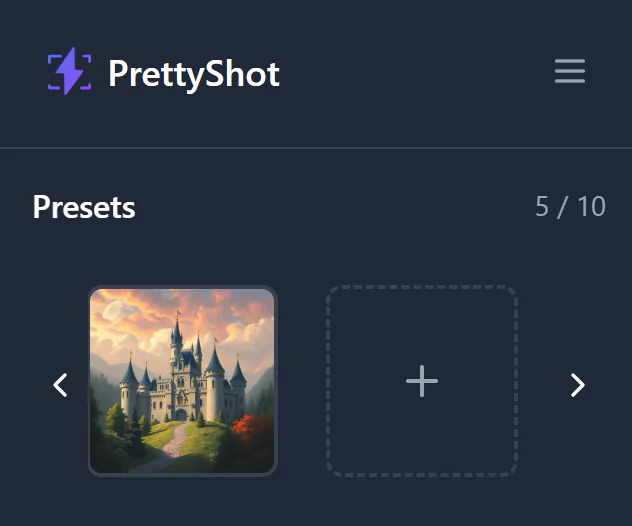
First upload/paste your screenshot into the editor. Then apply the effects you want to include in your preset and adjust the settings to your liking. Once you're happy with the result, click the "+" icon in the presets carousel to name and save your preset.
Note that saving a preset also saves all the settings of the effects you applied (size, position, etc). This is great for maintaining consistency in your screenshots.
Utilizing presets
To use a preset, simply click on it in the presets carousel. This will apply the preset to your screenshot. You can now adjust the effect settings. Note that this won't overwrite the preset settings.
If you enjoy using presets, consider subscribing to our Pro plan to unlock more preset slots and more features.